
Raise your hand if you're lost! I know this doesn't sound like it has anything to do with the title, but I promise you that it does!
Well the other day, that (as in the above questions I asked you) happened to me! I've been for ages wanting more scrap booking supplies like stickers, ribbons, special glue and tape, gorgeous patterned paper etc. because my own supply is pretty low, but I couldn't seem to get it for lots of reasons. Then Dad went to a friend's house, and discovered that they're moving. The lady of the house happened to be very into scrap booking and therefore had a massive (and I'm talking massive) amount of scrap booking materials. As in everything. And so she was trying to get rid of heaps of stuff and Dad told her that us girls really liked scrap booking, so she gave all of it to Dad to take home to us! And so now, as you can imagine, I have the most ridiculous amount of supplies that I'll ever need! Yay!
Now the card part. Since we had so much of the scrap booking it just stood on the table in full view of me. And the other day, I was idly trying to think of something to do and decided, since it was all there, and I actually for once have time, I'd make a wedding card. (and use it for future use)
So... watch on! (and see what I came up with!)
Note: Lots of the materials I use in here are, you know, let's just say that some of them you might not have. So don't hesitate to ignore this post if you don't own anything that I've used, or else alter the directions to suit your supplies at home.
Grab a piece of fresh, white A4 paper.

Then fold it in half and remember to crease it properly taking care that it stands up like a normal card would.

Alright, put that to the side. Now I've chosen a see through, gold hearts paper for this card, but remember that you can use what suits you.
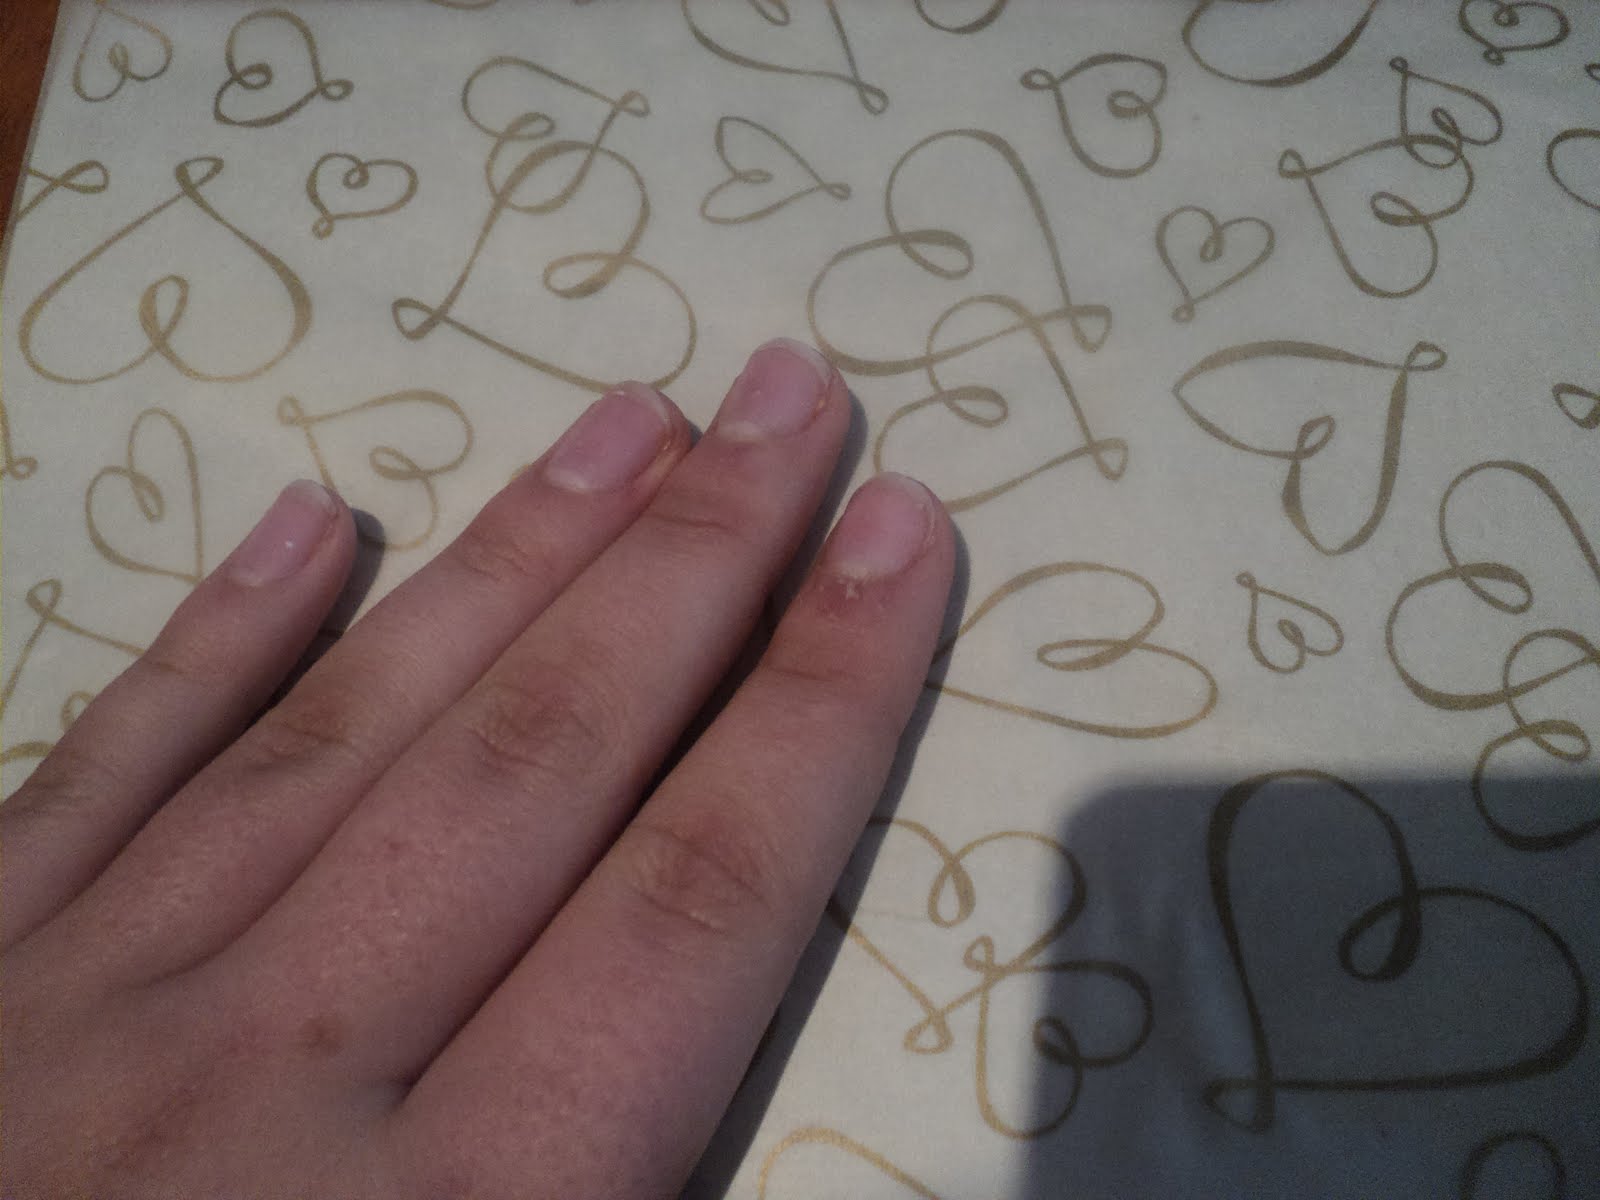

Done that? Now find your pad of wedding stickers. I used one with beautiful black and white photos.

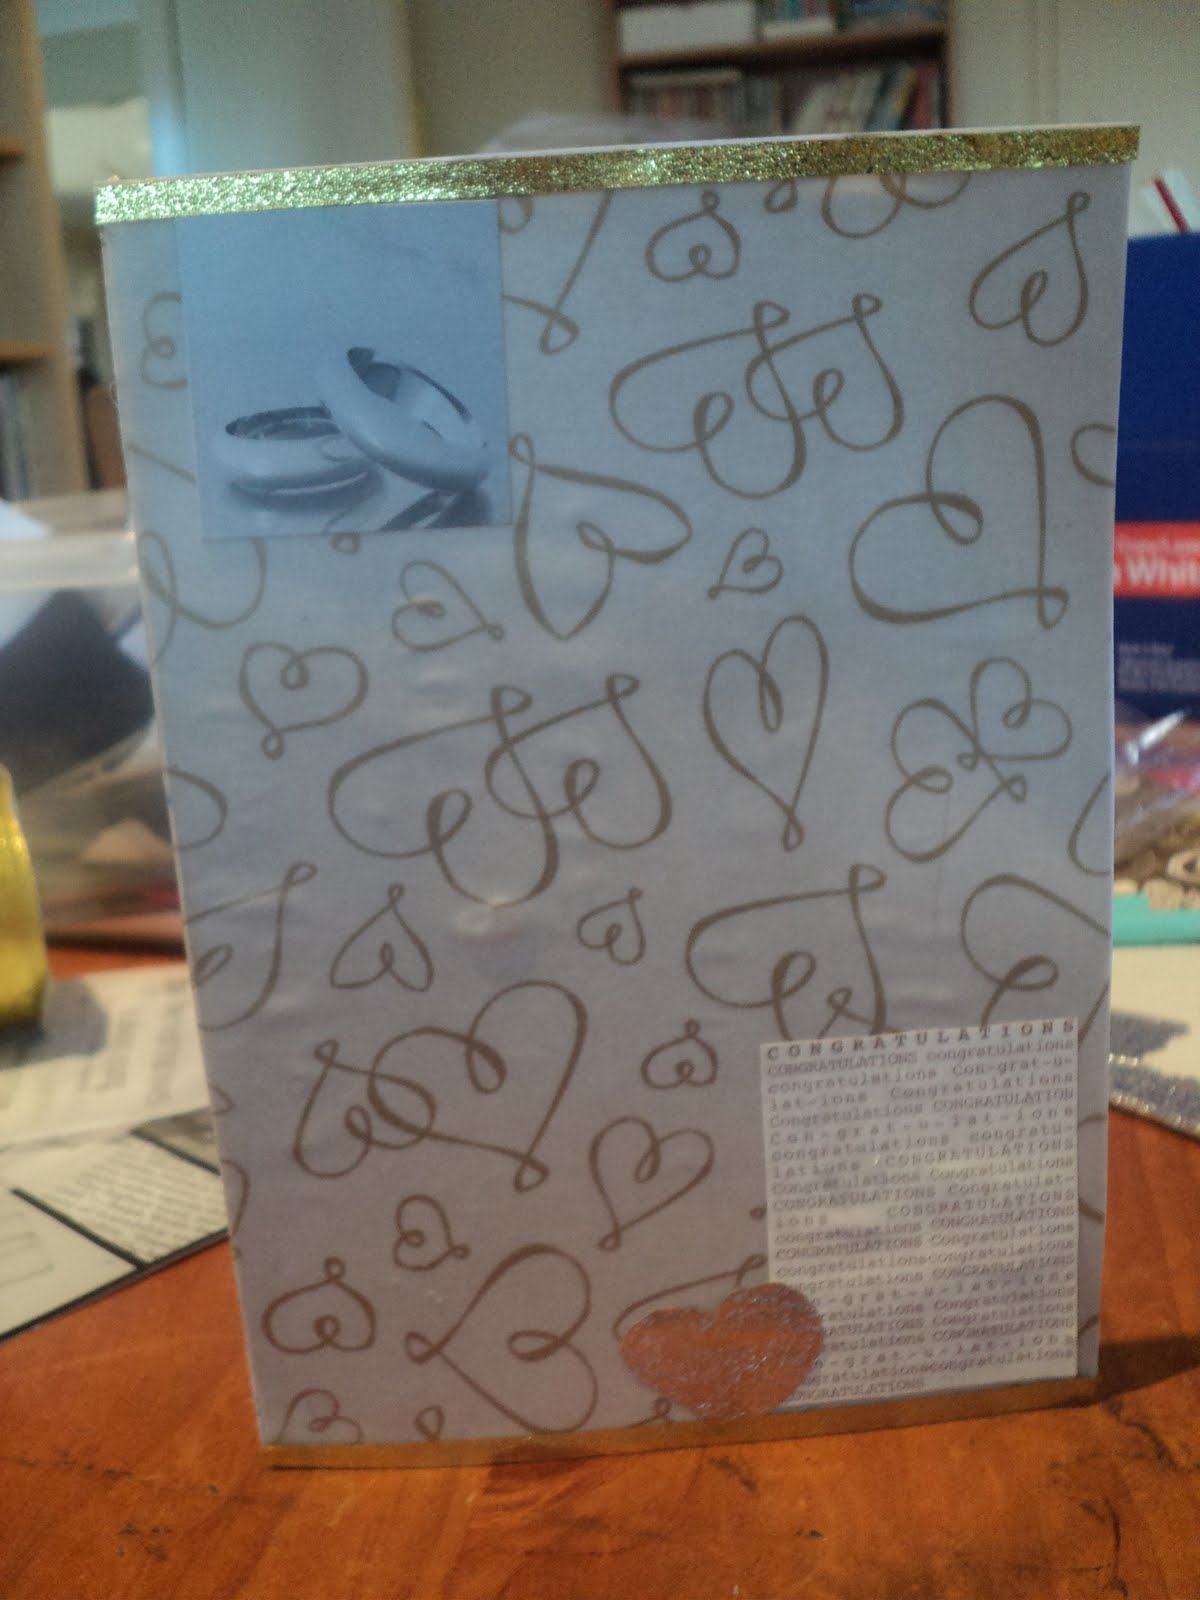
And choose one of the stickers and place it on the card wherever you like. I chose the top left corner to go with my design. (keep scrolling!)
 |
| sorry about the shadows on some of the photos! |

Next, find some more wedding stuff you own. Such as- flowers, beautiful words or phrases to do with marriage and love and lots of different kinds of hearts! They're always a big hit! I've used some paper with congratulations written on it many times and cut out a piece and stuck it on the bottom right corner.


After, I decided to use a silver paper and cut out a heart (which I change later!) to stick at the bottom just overlapping the congratulations note.


Nice? Now, you can add all the little tibits to finish it off. This is what I did.


On the back of the card, I decided to have 'made with love' written on it and found some pinks stickers and printed words to make it perfect for me!


To border the card, I used some gold ribbon and cut and pasted it around the top and the bottom.

 |
| notice that I've changed the heart down the bottom? I found a gold one that I thought better than the silver one! |


 |
| this is a another wedding card made by my sister, Ella using similar materials. |

Voilá! Now, you know how to make a wedding card like mine!!! (hopefully)
And now for something else.
A couple weeks ago, I finished learning a new piece on the piano called 'Le Onde' which means 'The waves' in Italian. It was written by an Italian composer and it's absolutely beautiful and relaxing to listen to. But hard to play, I soon found out! But now I've completely learnt it and now all I have to do is keep playing it and it will improve : )
And Briahna from Diamonds and Pearls has hosted another giveaway on her blog! There's a beautiful set of earrings up for grabs, so don't forget to enter! Have fun!
I'm also leaving to go away on holidays with my family on the 8th-30th of July! I will miss looking at blogs and posting myself, but am so looking forward to having a holiday (vacation) with my family once again. There will be much to tell and many (repeat) photos to share with you all when I get back! But don't forget to check back at my blog throughout the time I'm away for some amazing guest posts by some amazing blogging girls!
But until then, adieu to you all amazing Followers who have stuck with me. Some from when I first started a blog, and some from a couple days ago! You are all precious!
Bye!!
xoxox
p.s. sorry for the extremely long post! it's to make up for all the posts I won't be doing while away : ) gee, I'll miss you guys!
Wow, Holly, those are awesome! You're so creative. Sigh. I wish I was more crafty :)
ReplyDeleteThey look great! thanks for advertising for me! and i so can't wait till sunday! :D
ReplyDelete~Bri
What a great project idea! I will have to whip up some of these on a lazy summer day soon :)
ReplyDeleteneat-o! the end result was super cute
ReplyDelete♥flor
comment or follow at florecity.blogspot.com